Nature Photography Tips For Beginners
It can seem overwhelming when you first start your journey in landscape photography. Sometimes, you may feel that the area you live in isn’t quite beautiful enough to make you a great landscape photographer. Nature photography is more than just taking pictures of beautiful places. These are some tips for nature photographers to help you make the most of what you have available.

Table Of Contents
- It’s All About The Camera
- But don’t forget about your filters, tripods, and lenses
- Nature Photography Tips are useless if you’re shooting in JPEG
- Purchase a Shutter Release
- Tips for Manual Exposure 101
- Never Stop Exploring
It’s All About The Camera
While I don’t deny that you can’t take photos of nature with your iPhone, I do say they won’t look as good with a cheaper DSLR or mirrorless camera. DSLRs are great for beginners in landscape photography. They allow photographers to produce better images and give them complete creative control over their photos in post-production. This is because low-end DSLRs as well as mirrorless cameras can be controlled manually and have the ability to shoot RAW. Manual controls let you make decisions about the camera’s actions (not the camera making them), and RAW format allows you to get more data for post-processing. A used DSLR can be purchased for as little as $1. This camera will let you capture every waterfall, forest and prairie with greater detail than your smartphone.
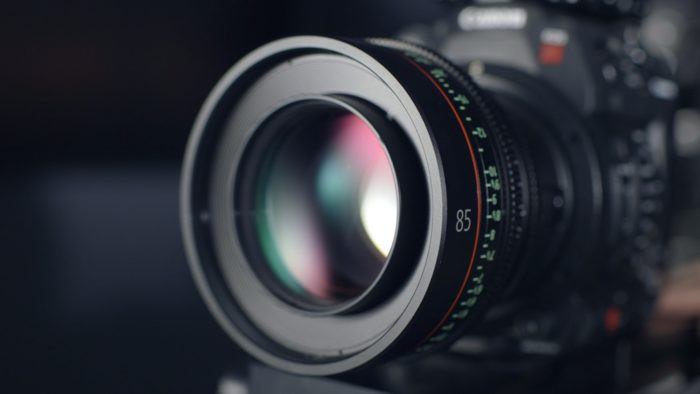
But don’t forget about your filters, tripods, and lenses
After you have a reliable DSLR set up, you can start playing with other equipment. Many outdoor photography tips for beginners neglect to mention the important equipment that goes beyond a camera. A kit lens is a basic lens that every camera manufacturer includes in the camera’s camera set. Although these lenses are not essential for your DSLR, they allow you to start shooting right away. However, if you have the money to purchase a stunning lens, you can get a new camera with it. If you are interested in landscape photography, you might consider a 24-mm prime lens or a 12–24mm zoom. This allows you to capture large areas of space in just one shot. The video below by Mark Denney explains more about landscape lenses that you might consider purchasing. A tripod is also necessary. For beginners, I prefer to keep things simple with my lenses and camera. Amazon will sell a basic DSLR tripod for $20.
A cheap tripod can be used as a learning tool, but it is great for beginners. As your skills improve, you will need a better tripod. You can take long exposure photos of landscapes with a tripod, but you also have the ability to stabilize your shot so you can create sharp details. These details will be blown up once you return home. You can then transfer them to your computer. Nothing is more frustrating than realizing that your entire day of shooting was a waste of time because your hand was shaking. Photography of nature is the only type of photography that allows you to take as many shots as you want. A variable ND filter is the final option. The variable ND filter is attached to the end of your lens just like a circular polarizer. It controls how much light gets into your camera.
Variable ND filters reduce the light entering your camera. This allows you to slow down shutter speed and capture stunning blurred images such as the one shown above. You’ll get a better deal if you buy a variable ND filters than if your fixed filter. Fixed ND filters only let in so much light, but variable ND filters like Kenko’s NDX variable-ND filter can be twisted to achieve the right amount of light. Variable ND filters are like carrying a complete ND filter kit in your bag, but without the expense and bulk. As you can see, different filters have different levels of filtering power. This article will explain variable ND filters. It explains why filters such as Kenko’s NDX variable NDfilter are so important for nature photography.
Nature Photography Tips are Useless If You Shoot JPEG
It’s a fact that I have repeated before: Stop shooting JPEG images. You might consider using the JPEG setting in your DSLR if you haven’t read any tips for outdoor photography. It’s what most cameras default to at the beginning. However, RAW images should not be taken and saved as JPEGs in post-production. Why? RAW images retain more information than JPEGs. JPEGs can be compressed versions of the original photo. RAW images preserve the entire image, with all details captured by the sensor. Shoot in Raw if you plan on editing photos to adjust white balance or improve color!
Purchase a Remote
Ok, I know that I have already advised you to purchase a lot more expensive equipment. This next item is extremely affordable. Remotes are available for as little as $8 on Amazon. They also allow for long exposure shots. To take a photograph, always move your camera even if you are only pressing the shutter button. Shutter releases let you take photos without touching the camera, so blurred images are not possible. They’re also a lot of fun to have a go with, especially when you’re trying to get selfies that aren’t too sexy. My friend and photographer lets her toddler operate the shutter release when they take family photos. She finds it a great way for candid shots.
Tips for Manual Exposure 101
It’s fine to shoot in full auto mode if you are just starting out. As you grow and learn as a photographer, don’t shoot in automatic. If you don’t know what your camera can do, and the amazing ways it can capture the world around it, you won’t be able to learn. Shutter speed is, as I mentioned before, how fast the shutter opens or closes. The shutter speed determines how much light is allowed to enter the camera. However, the faster the shutter speed, then the more light will enter the camera. The shutter speed controls both the duration and the way the camera captures motion – blurred, frozen or normal.
The ISO level indicates how sensitive the camera is to light within your environment. The ISO value is a measure of how sensitive your camera is to light. The ISO value also determines how much digital noise the image has. Digital noise, which looks like graininess, will increase the ISO. The aperture controls how much light reaches your camera. The f-stops are used to measure aperture. A smaller number (e.g., F/22) indicates a small aperture opening while f/1.4 represents a large aperture opening. The depth-of-field is the extent of the scene that is focused, and the smaller the aperture, the higher the aperture opening. When you shoot in manual mode, you can select where each level should be placed to get the best photo. Manual mode may sound intimidating, but it is not! It takes practice and time to master the manual mode and feel comfortable with it.
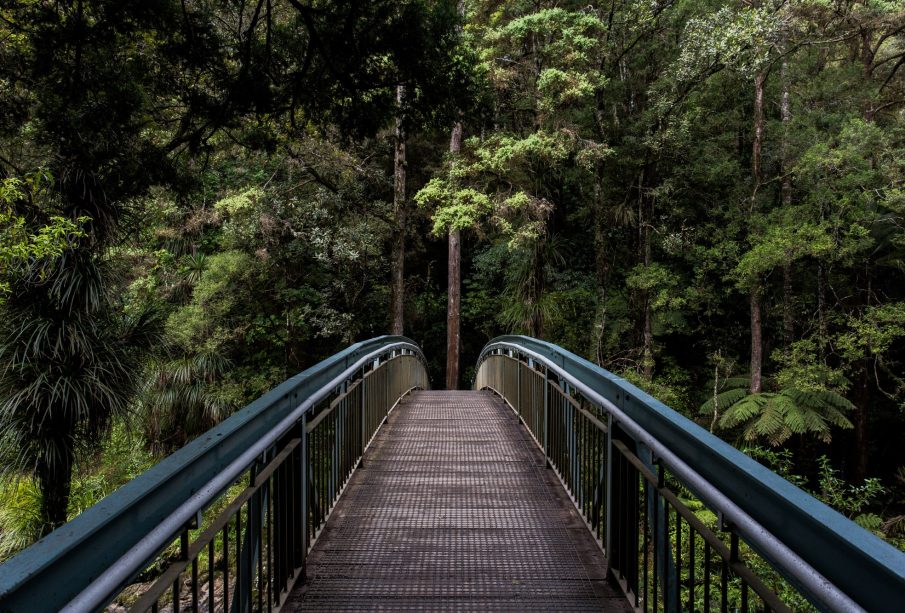
Never stop exploring
This advice is equally applicable to a beginner landscape photographer as it does for a professional. Burnout is a real possibility in photography, especially landscape photography. It’s so costly to travel and explore new locations. Never stop exploring doesn’t necessarily mean you should be constantly on the road or in another country. But it does mean that you must have a childlike wonder. It is important to question what you aren’t seeing in your own backyard. It is important to step out of your comfort zone, as this is where you will see the greatest growth. Do not stop striving to be the best version of yourself because you may not have yet succeeded!