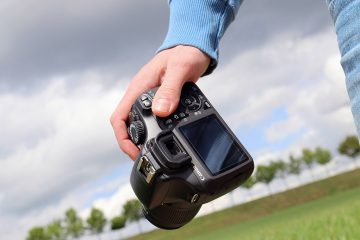
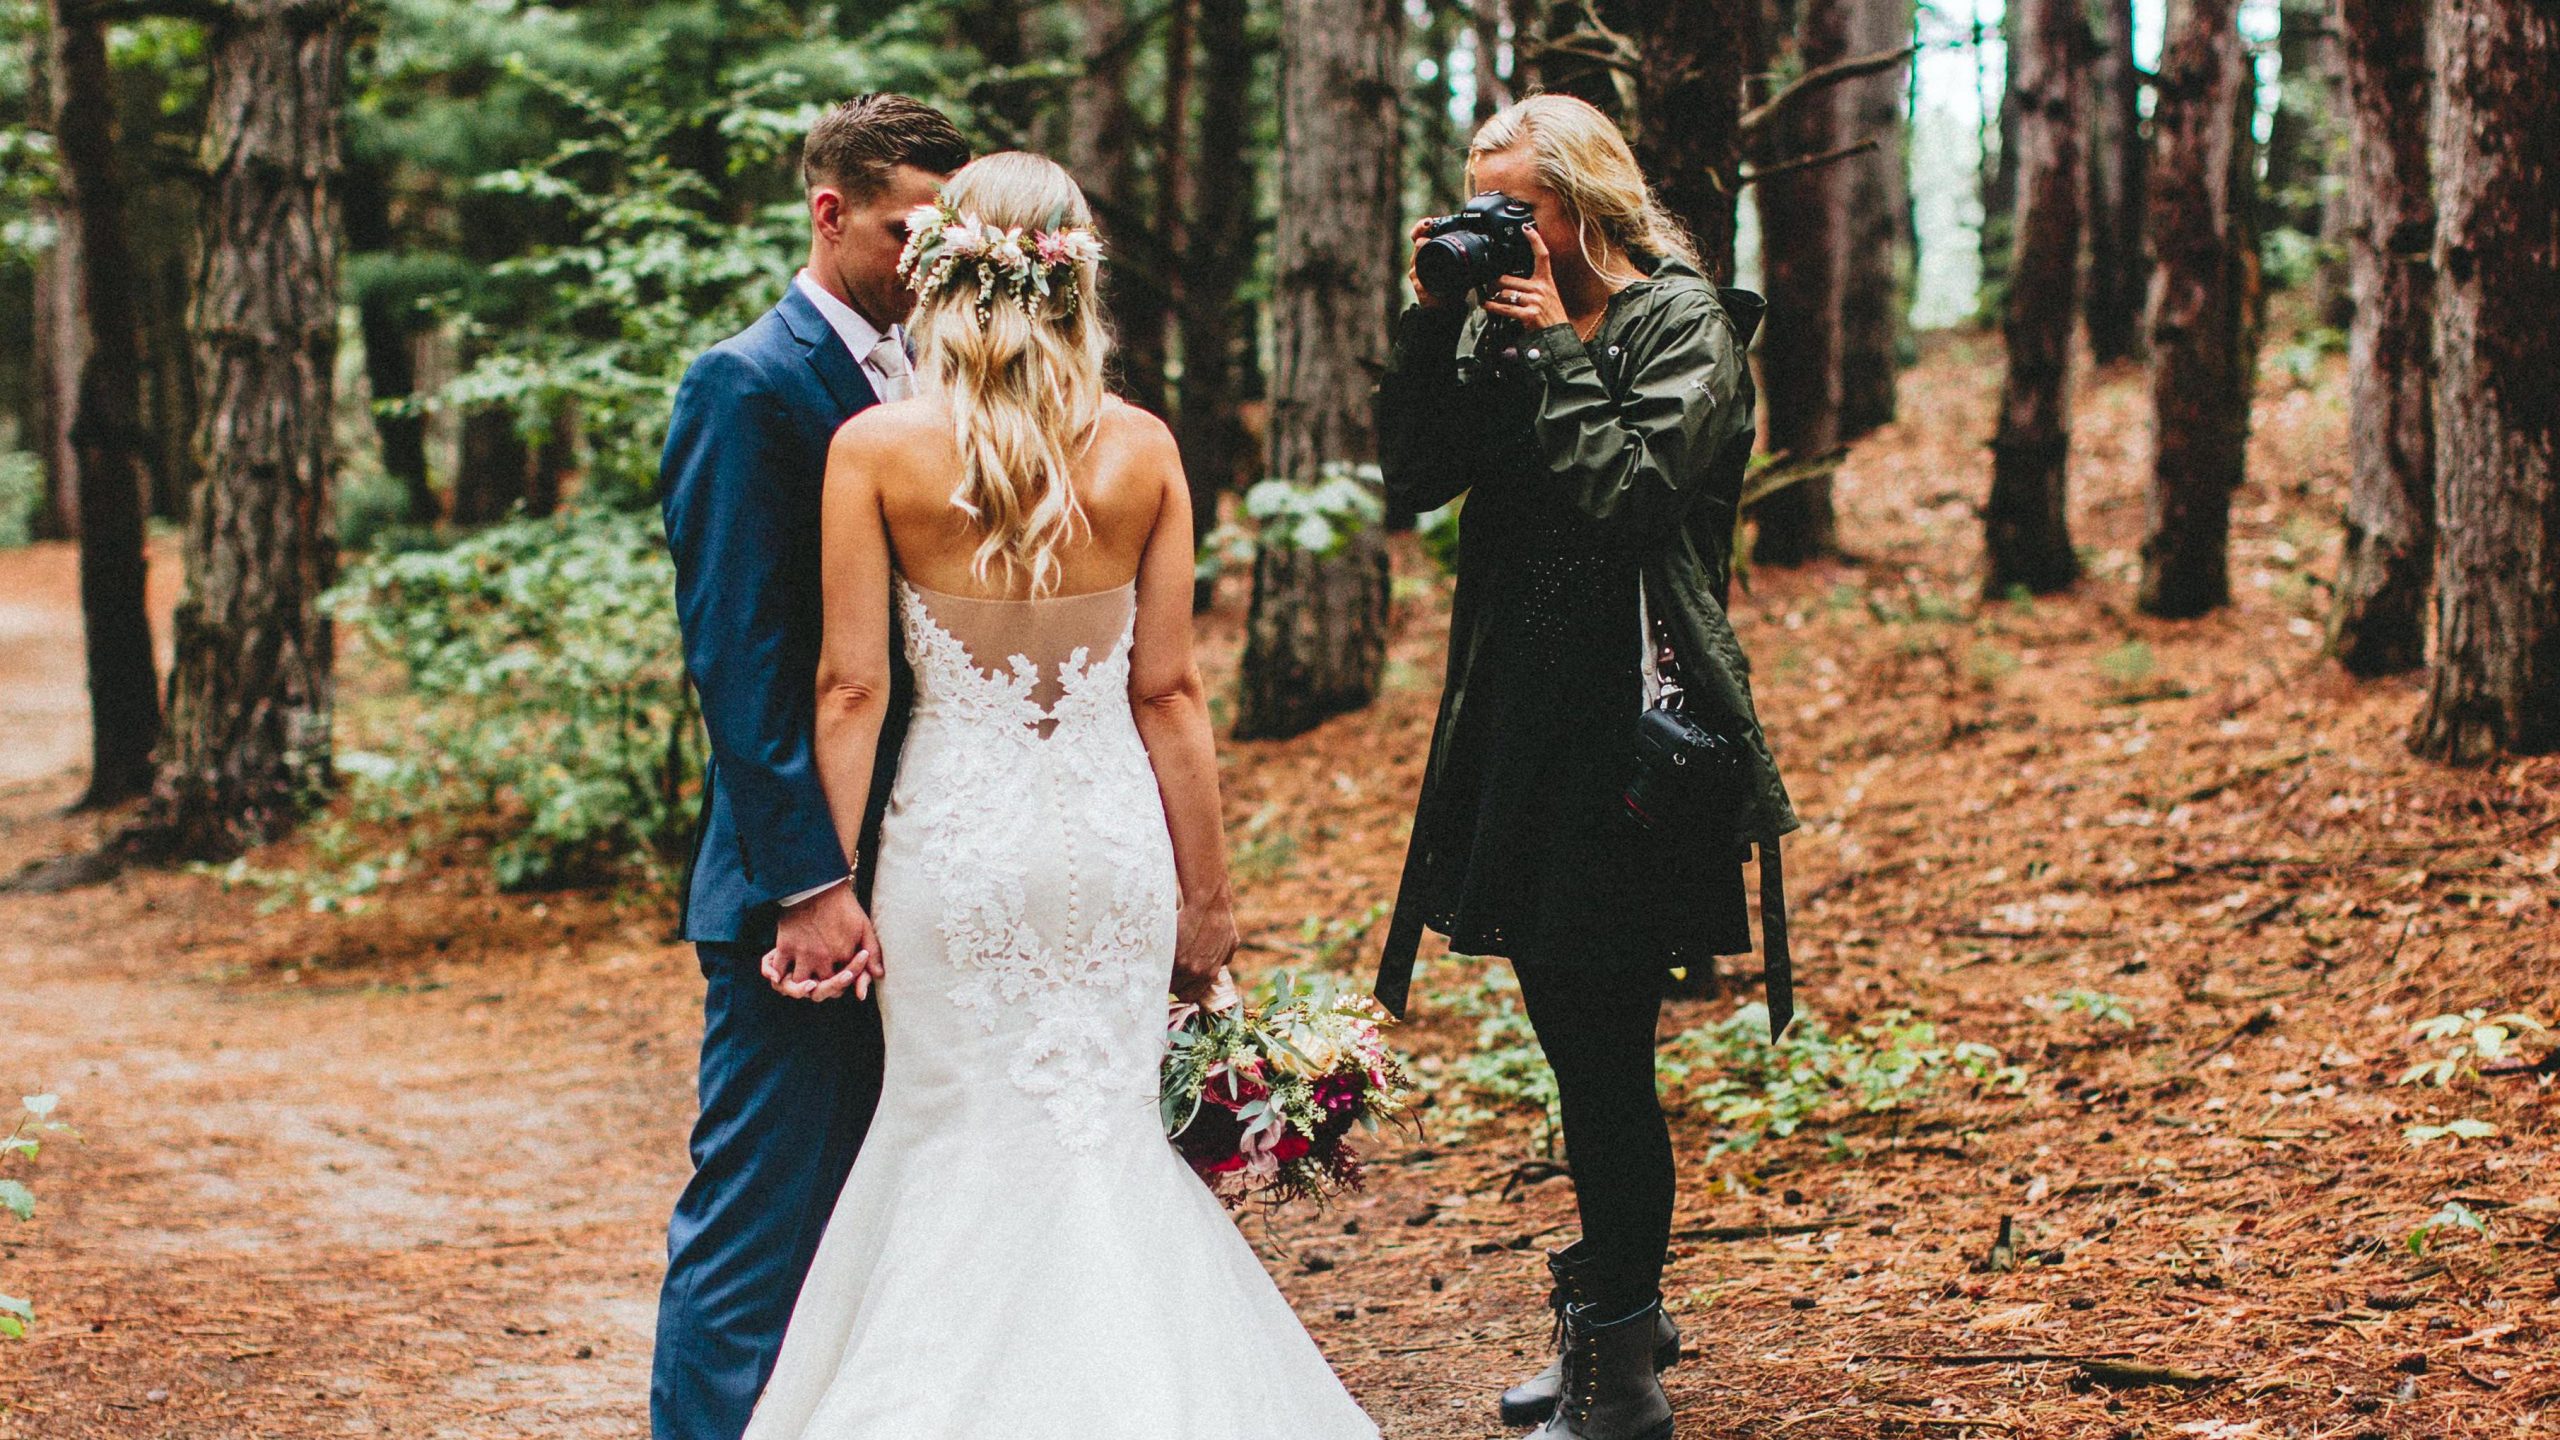
Photography Tips For Beginners: The First 12 Things To Learn With Your Camera

We have the best photography tips for beginners, whether you are just starting out with your camera or looking to refresh your skills. We will walk you through the basics of photography and show you how to create great images using your camera kit. You’ll feel confident to shoot and you will be well on your path to becoming a pro photographer after reading these top tips.

1. Which shooting mode should I use?
You decide how much control you want to allow your camera to have over you. You have many options, from giving your camera complete control to you being completely in charge of the situation. If you are looking to take a quick shot, the Auto ‘Green Means Go’ mode is fine. However, this will not improve your photography. If you live in Shahjahanpur and want to play online casino games, then you should consider 888! !888Casino Find out More
You can only shoot in Jpeg format on the fully auto mode (see file format tip 6, for more details) and you cannot alter the exposure of the image. You can’t also override flash. You will soon become frustrated and limit what you can accomplish. It is a good idea to jump straight into the deep end, and set your camera to Manual. This will give you a better understanding of shutter speed, aperture, ISO and how to balance them together. You can also practice in manual mode using P (program) – the camera controls the aperture, shutter speed and exposure but can also make adjustments.
2. Let’s start with the basics: What is shutter speed?
This image illustrates the sharp contrast between a fast shutter speed and a slower one (Image credit: Future).
The shutter is a mechanical component of your camera that opens or closes at a specific time. This can be measured in seconds or fractions of seconds. Slow shutter speeds (for instance 5 seconds) will capture lots of movement, while fast shutter speeds (for example 1:500 sec) will freeze the action. A tripod is recommended if you are using a shutter speed lower than 1/60 seconds. Otherwise, your hand movements could blur the image.
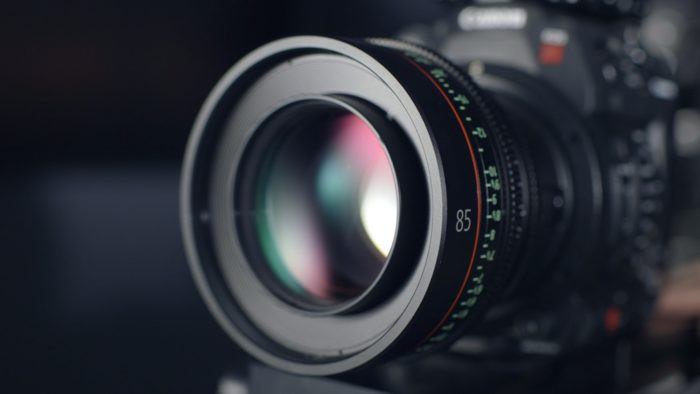
3. Aperture – What are the basics?
The aperture is built into the lens. It is a simple bladed hole that opens or closes and controls the depth of field. The aperture is controlled by a number called f stops. These have an odd numbering system, but it’s easy to understand. It is important to remember that a smaller number, such as f/2.8, means the hole opens wider (let in more light) and a larger number (for example f/22), means the hole has a smaller opening (letting in less light). The minimum and maximum aperture settings of your lens will be different. If the number is lower, we call the aperture wide. When it is higher, we call the aperture narrow. You will want to use a narrow depth of field (higher number) for macro or close-up photography. This allows you to focus more on the subject. Different subjects require different aperture techniques. If you are looking for blurred backgrounds and your subject in focus in portraiture, you will need to choose a lower aperture number. The effect will also be affected by where you place your subject relative to the background distance.
4. What is ISO?
The third component of the camera basics trio, ISO, is finally complete. ISO refers to the sensor’s sensitivity. Your ISO setting should be set to low so that your sensor is less sensitive to sunlight. However, it will produce better quality results. You can set your sensor to a lower number in bright sunlight. You will notice a decrease in image quality. At very high ISO numbers, you may see noise that looks like speckled dots. Play around with ISO settings to find out where noise is occurring in your camera’s ISO settings.
5. The basics – The exposure triangle
You can avoid overexposed images (left), and underexposed images (right). Learn how to balance ISO and exposure triangle, and how to meter (Image credit: Future). Once you have an understanding of the basics of ISO, shutter speed and aperture, you can start to understand how exposure triangles and metering work. Remember that you must balance all three ingredients to achieve the best exposure. You will find a light meter on your camera when you are using manual mode. This is a small scale that measures in stops and thirds of stops. It also corresponds to increments in your ISO, shutter, and aperture settings.
If you increase the shutter speed by a third, you’ll let in more light. The opposite happens if the scale is lower. Reduce the light by one third. The moving needle on your light meter will indicate if you require more or less light. The needle will be in the middle of your scale if your image has been properly exposed. This is how it works: Set your camera to Manual mode, and choose a shutter speed setting. You can see where the needle moved. Is it moving up or down? If the light is too high, it means that there is too much light. In this case, you can use the ISO and aperture settings to reduce light. It is possible to increase the aperture to a greater number, which will close the hole. You can also reduce the ISO to a lower value (making the sensor more sensitive to light).
If you have a reverse situation and need more light, you can increase your ISO number (make your sensor sensitive to light) or open the aperture setting (make it wider). There is always a compromise between these settings to get the results you want. If the image has the needle in its middle, but it still looks dark, we call this underexposed. You can always add more light to the image and vice versa. Be careful not to overexposed the image. This can cause the highlights to become distorted and void of any data. It can be slow at first, but you’ll get better at reading the light, and you will know what settings you prefer. These basics will allow you to do almost anything with your photography once you’ve mastered them.
6. Formats
Raw files are recommended as they allow you to later edit your photos on a computer. (Image credit: Future).
You can record images in either a Jpeg, Raw or both formats with your camera. A lot of beginners choose the Jpeg format. This is great if you don’t need to do any editing. If you are satisfied with the results, your camera can apply some basic editing such as sharpening or saturation. Raw format is best for those who want more control. Raw files are uncompressed, which means they hold more data. Raw can also be edited with additional editing tools. If you plan to edit your images on your computer, only shoot in this format. Images that come out of your camera look flatter than Jpegs. You will need to apply all editing techniques yourself.
7. Editing images shouldn’t be a problem
Did you ever see that stunningly beautiful image on social media? What did you do to make it your own? It is likely that it has been edited. Editing an image not only brings back the atmosphere and emotion of the scene, but also allows you to create your own style. When you’re just starting out, you should look at settings such as Exposure and Contrast. Also, consider whether you need to bring out highlights or shadows. It is easy to overedit your image. You can play around with the effects and sliders, but you need to evaluate the results and decide if they add value.
8. White balance
Each light has a different color temperature, and photography uses a Kelvin (K) scale to measure the light. A lamp bulb in your home with a bright orange tone would produce a temperature around 3200K. While daylight is colder at 5500K. Although our eyes are quick to adjust to different light sources and can adapt very quickly, our camera can sometimes struggle. Your camera’s white balance (WB), can be adjusted depending on the type of lighting you are using. It’s best to leave the Auto white balance setting on most of the times. However, if you have trouble with a bad color cast, switch to the appropriate light symbol and see if that helps.
Raw also has the advantage of allowing you to adjust the white balance at the editing stage. This means you don’t have to worry about it until you edit.
9. Tips for focusing
While the auto focus feature of your camera is great, there are two things you need to consider when focusing. These are your focus point (or focus mode) and your focus point. You can also choose the single shot setting to capture still subjects such as landscapes or still life, and the tracking feature to capture anything moving like action and portraiture.
10. Basic composition tips
As you create stronger compositions, the rule of thirds is a good idea to keep in mind. Instead of placing the main focal point of the image in the center of the frame, try placing it about a third further in. This can be done by using the grid lines on your camera. Another tip for landscape photography is to look out for leading lines. You might break rules sometimes, so these guidelines should be used as a guideline and not a rule.
11. Background matters
Although it may seem obvious, the background is crucial and easy to overlook when you’re too focused on your main subject. It is often more important than your subject and can make or break an image. A plain background can be used to isolate the subject, but remember that portraiture is not about removing distracting elements such as a churchspire or a tree branch from your subject’s head.
12. Take a look at the angles
Although it’s simple to photograph at eye level, consider how the shot may look from a low or high angle. Portraits taken at a casual angle have a more dynamic feel. Do not stick with the same view. The most interesting photographers look at things from a different angle. A pair of waterproof trousers, or a bag that you can use to lie down or kneel on for wildlife or landscape subjects is a great way to explore these aspects.