Minimalism: Home Photography Activity
If you are interested in further training, this article is based upon concepts from The Photography Action Cards. In recent times, many of us spend a lot more time at home. Minimalism is a fun and exciting technique for photography.

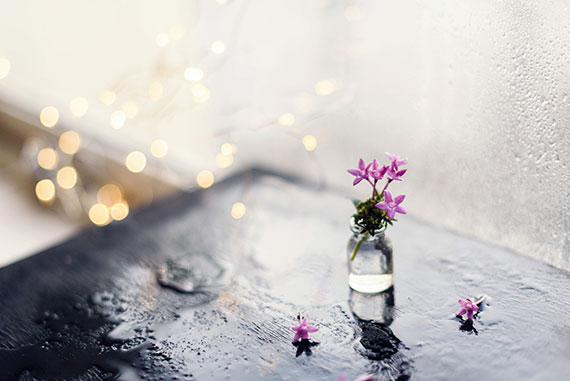
Minimalism can be defined as a style of photography that emphasizes simplicity. It is the reduction of forms, such as the use of colors, shapes, tone and negative space. You will need to find objects in your home with interesting shapes and colors.
Here are some ideas.
Top left photo taken by Maarten Winant’s. Top center photo by Annie Spratt. Middle left photo taken by Leonard Rb. Center photo by Yann Sio Nine. Bottom left photo taken by James L.W.. Bottom center photo of David Svihovec. Bottom right photo shot by David van Dijk.
Lighting
Next, choose your lighting. If you’re new to photography, a window with indirect lighting (no direct sunlight) is a good choice. You can do this activity even if you don’t have a suitable window.
IDEA: There is no standard for photo creativity. Let the sun shine on your photo and watch what happens. You have more control with additional lighting. You don’t need to own specific photography lights. You can use table lamps, flashlights or any other light source you have in your home.
IDEA: You can transform project photos from different light sources into monochrome black-and-white pictures if you are concerned about the color balance.
Direct window lighting will create soft shadows and muted colors. This lighting scheme allows you to easily determine the exposure setting. Bright sunlight through the windows produces brighter shadows, and vivid colors. It can be difficult to determine the exposure needed for this lighting scheme. Make a test shot, and make adjustments as needed. You will most likely choose a background that highlights your subject through color, tone or texture.
These are just a few suggestions.
* Different types of wood
* Install a wall in your home
* Blankets or sheets for the bed
* Art paper in a variety of colors
* Cardboard
* Vinyl sheeting
* Plastic – Smooth or crumpled
* Tinfoil
* Bricks or pieces of rock
* Tables and countertops
You get the idea. You’ll be amazed at the things you find in your home once you get started looking.
STEP UP
1. A tripod can be a great advantage for your camera. You can set up your image and make adjustments to the set or lighting, all while your camera is still stationary.
2. Use aperture priority or manual mode to choose a shooting mode. Your goal is to adjust your depth of field so that all the things you want in focus are actually in focus. The shutter speed should not be a problem if you are using a tripod. A cable release is recommended for shutter speeds below 1/60th. This will ensure that your camera doesn’t shake when you take the picture.
3. You can start with a middle-of-road aperture such as f/5.6, f/8. Adjust as needed to achieve the correct depth of field.
4. Your ISO should be between 100 and 400. Higher ISO settings will cause digital noise.
5. Shoot raw if you have the option.
6. If you shoot in raw, auto white balance is acceptable. If you are shooting in.jpeg you will need to adjust the white balance to the correct light source.
7. The choice of lens depends on your vision of the final image. You will most likely use a lens between 35mm and 135mm or a zoom lens within this range.