Photography In Alaska: Tips To Prepare Like A Pro
Although Alaska is beautiful and relatively unspoiled, the vast landscape can make it difficult to photograph. Jerry Goffe has been to Alaska more than 10 times. He loves the friendly people, abundant wildlife, beautiful landscapes and towering glaciers. According to the professional photographer, Alaska is pure beauty. Jerry shares his top 4 tips for tourists considering Alaska photography tours.
Tip 1 – Wear the right clothes
Alaska is known for its extreme cold temperatures. It is important to plan ahead so you can be comfortable enough to take great photos and not feel the chill in your fingers.
- Layer your clothes. Layers are best because the weather can change throughout the day.
- Protect your warm clothes with light raingear.
- You can keep your feet dry by wearing waterproof boots while you’re sloshing along the shore.
- Thin gloves are a must. Thin gloves, or gloves that have removable fingers, will make it easier to use your camera’s controls than thicker mittens. You can also place a felt self-adhesive circular on the shutter release to make it easier to find where it is.
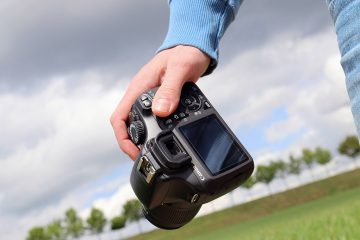
Tip 2 – Bring the right equipment
Jerry suggests that even the most skilled participants limit the equipment they bring. Jerry stated that he used to take a lot more than he does now, but the technology for digital cameras and lenses have vastly improved in recent years. Today, I have three lenses. A wide angle, a telescope, and either a fisheye, ultra-wide angle or semi-telephoto lens. Additional batteries are also essential. Jerry suggests that you keep extra batteries in your pants or shirt pocket at all times. This will allow you to quickly replace the battery if it gets too cold. Jerry also recommends a case to store extra memory cards, and a strobe light with a beamer for taking photos of birds from a distance and filling in shadows. He recommends that you invest in a waterproof lens cover system. At night, keep your camera in its bag to let condensation form.
Tip 3 – Learn how to use your camera
After you have prepared your camera for the weather, you can start to get more familiar with it. You don’t just need to know how to use the standard modes like manual, aperture and shutter priority. There are many other functions that you can learn to enhance your photography experience. Because of the reflective nature glaciers and snow, the camera’s meter can make your image darker than it should be. Jerry suggests learning more about exposure compensation or getting help from a professional photographer. Also, it’s a smart idea to learn how the histogram works rather than relying solely on the LCD’s color display. Jerry stated that the LCD can be adjusted to adjust brightness so it is possible that the LCD displays a different image from what was actually taken.
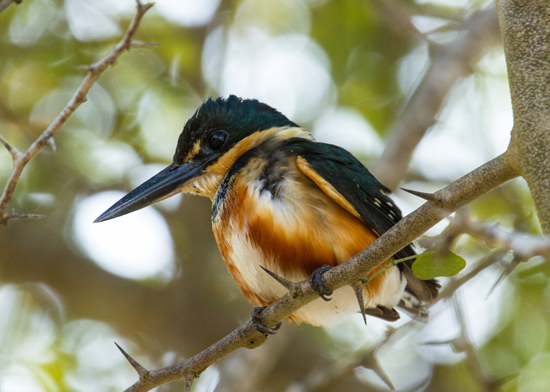
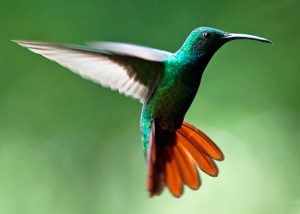
.Tip 4: Be ready for the journey of a lifetime
While Alaska photography isn’t as easy as other destinations, it is still a great place to photograph. Photographs of wildlife can be taken by single-engine planes, boats, jets and single-engine aircrafts. The best photographers will be able to capture the bears, which is what every Alaska visitor wants to see, even if they are far away. Jerry laughed and said, “Bears were the reason the 500mm lens was invented.” Jerry was quick to pick the natural spectacle of the shorebird migration as his personal highlight over the years when he was asked. Jerry stated that 6.5 million shorebirds fly above the beach during the tide coming in in May to feed on the sandworms and snails. All the birds fly together when the tide is in. They move like a ribbon from one section to the next. They don’t mind if you walk up to them for photos.